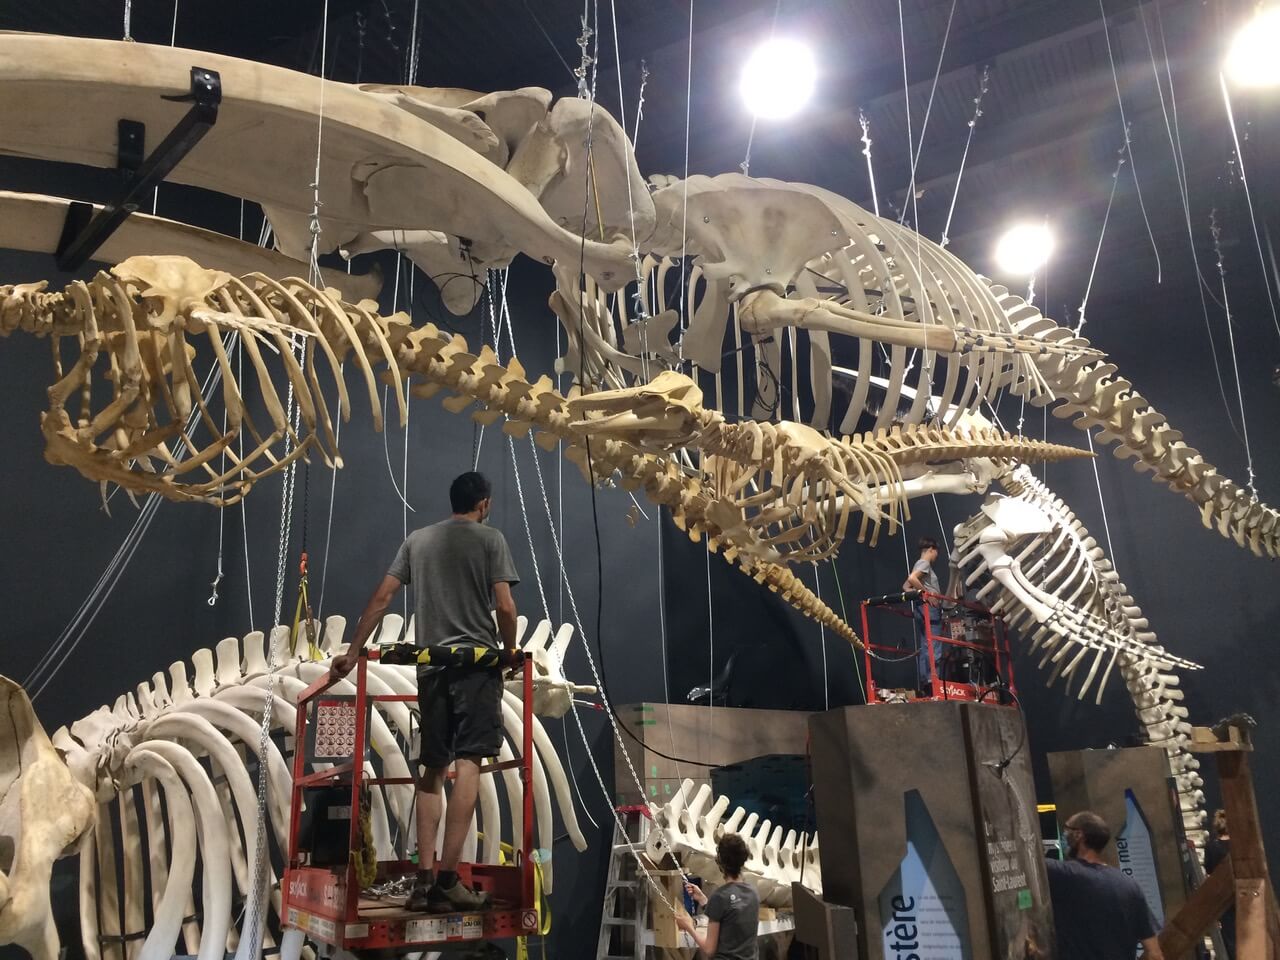
Anyone who has ever walked through the doors of Tadoussac’s Marine Mammal Interpretation Centre (CIMM) has undoubtedly gawked at the gigantic whale skeletons on display in the main exhibition hall.
Upon entering, visitors are suddenly plunged into an underwater world inhabited by creatures whose size they would have never fathomed. They first find themselves in the enormous mouth of a blue whale, whose two lower jaw bones – 6 metres long each – form a striking arch around the doorway. Just in front of these unusually-shaped bones is the imposing skull of a creature that is hard to recognize at first glance: the sperm whale. Not much remains of the big squarish head that is so iconic of this giant squid hunter. On the left stands the majestic skeleton of the star of the exhibition: Piper, a North Atlantic right whale whose carcass was found in 2015 off the coast of Percé, adding to the list of dead individuals of this critically endangered species.
Although this collection might seem a bit morbid for some, others will see it as a great opportunity to give a second life to these individuals whose stories can then be shared with the public by the CIMM’s seasoned naturalists.
Michel is one of these naturalists. He’s been working at GREMM for over 25 years now and can be recognized in a number of photos and videos illustrating the process of preserving these huge piles of bones. Michel is an experienced and passionate naturalist, precisely the kind of person you need to tackle these vast projects that can take months or even years to complete!
Here is an interview with Michel that will answer the question that many wonder when they come to visit the CIMM: “How is a whale skeleton preserved?”
Hello Michel! What led you to work with skeletons?
I had already been working at the CIMM for several years as a naturalist. It was winter and we had some downtime. It was an opportunity to start working on a new project, something different. I was accustomed to presenting the skeletons we already had on display in the showroom, but this time it was an opportunity to tell more personal anecdotes. It’s more interesting, not just for me, but for our visitors as well.
Not everyone has the opportunity to work on real whale skeletons, so that’s pretty cool! We learned a lot from folks who already knew the tricks of the trade, because they had worked on the first skeletons in the collection. It’s truly interesting to work on a real skeleton, since we’re starting with something that was once alive, an animal that had its own history. It is interesting to give it a second lease on life through stories.
There’s also all the dynamics surrounding the undertaking, so it’s a nice engineering challenge. You have to think that it is robust and delicate at the same time, in addition to being faithful from an anatomical perspective. You have to tinker around and ask a lot of questions. You also have to be a bit of a jack-of-all-trades, which is what makes it interesting. Sometimes we repair, sometimes we embellish. Ultimately it requires a lot of craftsmanship.
Can you explain to us how a whale skeleton is recovered? Why don’t you simply buy replicas?
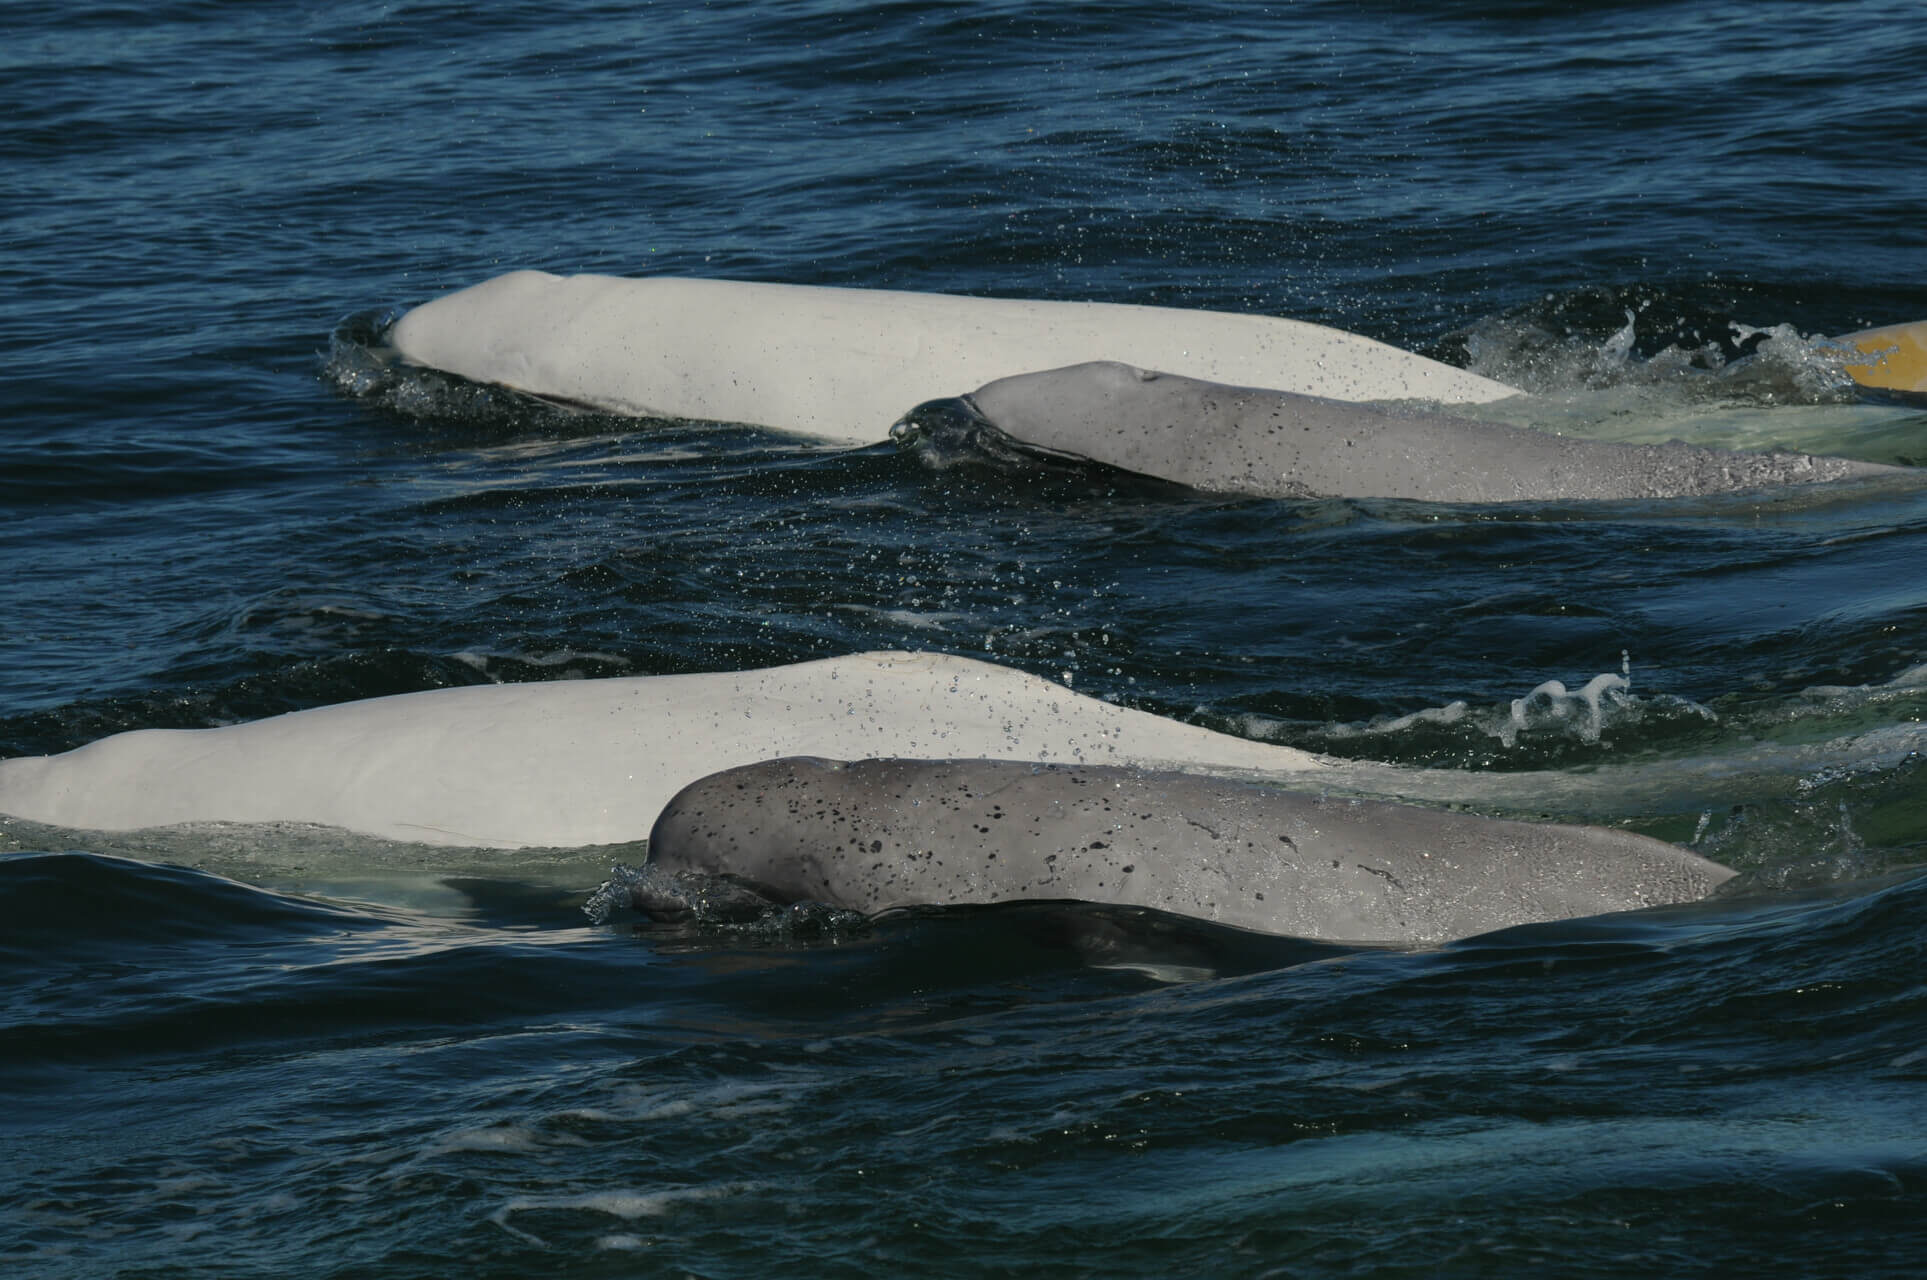
Replicas are a quick and easy way to get a skeleton. Even if they’re artificial, they’re still quite faithful to the real thing. What’s good is that you don’t need to clean them, they don’t have an unpleasant odour, there’s no oozing, they won’t change colour and they are quite sturdy. Not to mention that buying a beluga skeleton is a whole lot easier than finding a carcass and going through all the steps to turn it into a skeleton. However, it will always remain a replica.
With a real skeleton, it’s more complicated. You have to find a carcass… The opportunity has to present itself… It’s more expensive, though a replica isn’t cheap either, and then there are all the steps to carry out. It can be really long and you can’t be in a hurry. What makes all the difference is that it was a real animal, with its own stories and history to discover and share.
Raising public awareness through the story of an animal that was once alive changes the dynamic
What are the different stages of preservation?
There are four main steps.
1. Recovery and flensing
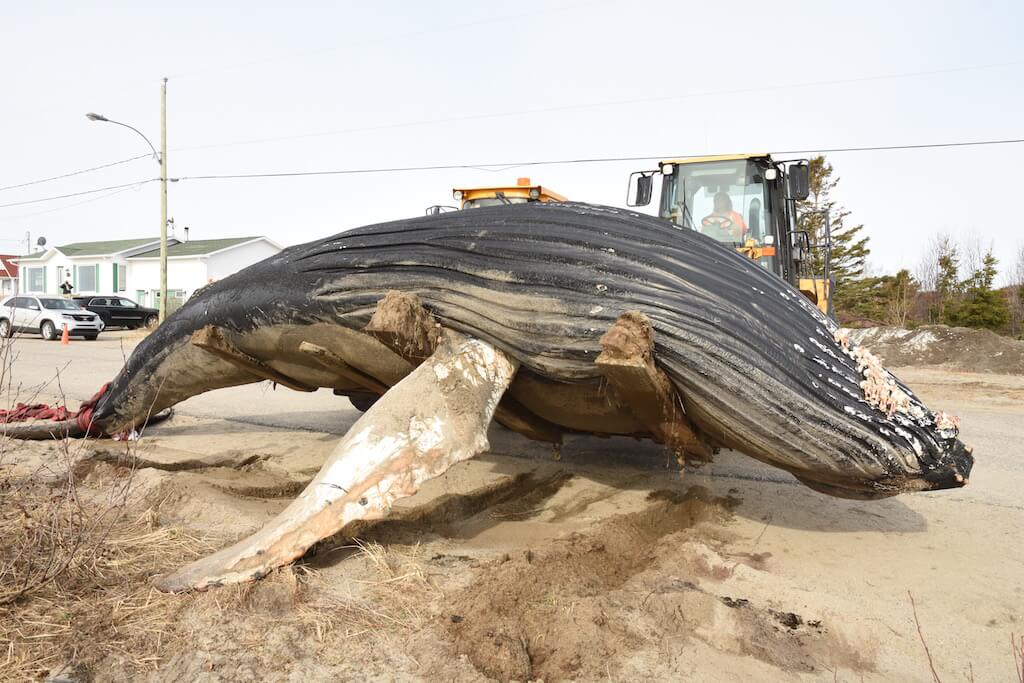
The idea is to recover a carcass that is still fresh and intact. Nowadays, we try to be more selective and strive to recover species that we don’t yet have in our collection. Also, the carcass must not be too far away and should be easy to recover. You need to put together a team of at least 5 to 10 people, depending on the size of the whale. It is also necessary to plan a budget and apply for permits, particularly with Fisheries and Oceans Canada (DFO), especially if a species at risk is concerned. Then, depending on the researchers’ requests, samples must be taken or the carcass must be sent for a necropsy to the Faculty of Veterinary Medicine in Saint-Hyacinthe. It is generally the Quebec Marine Mammal Emergency Response Network (QMMERN) that manages the various cases and coordinates sampling.
When an animal is easily transportable, we bring it to our partner, the “Cinq Étoiles” farm in Sacré-Coeur, where we can flense the whale in a field far away from any residences and bury the flesh in accordance with environmental standards.
If we decide to flense a large whale, we work with the provincial department to find the nearest landfill that can receive and bury the animal’s flesh. And that’s not always easy.
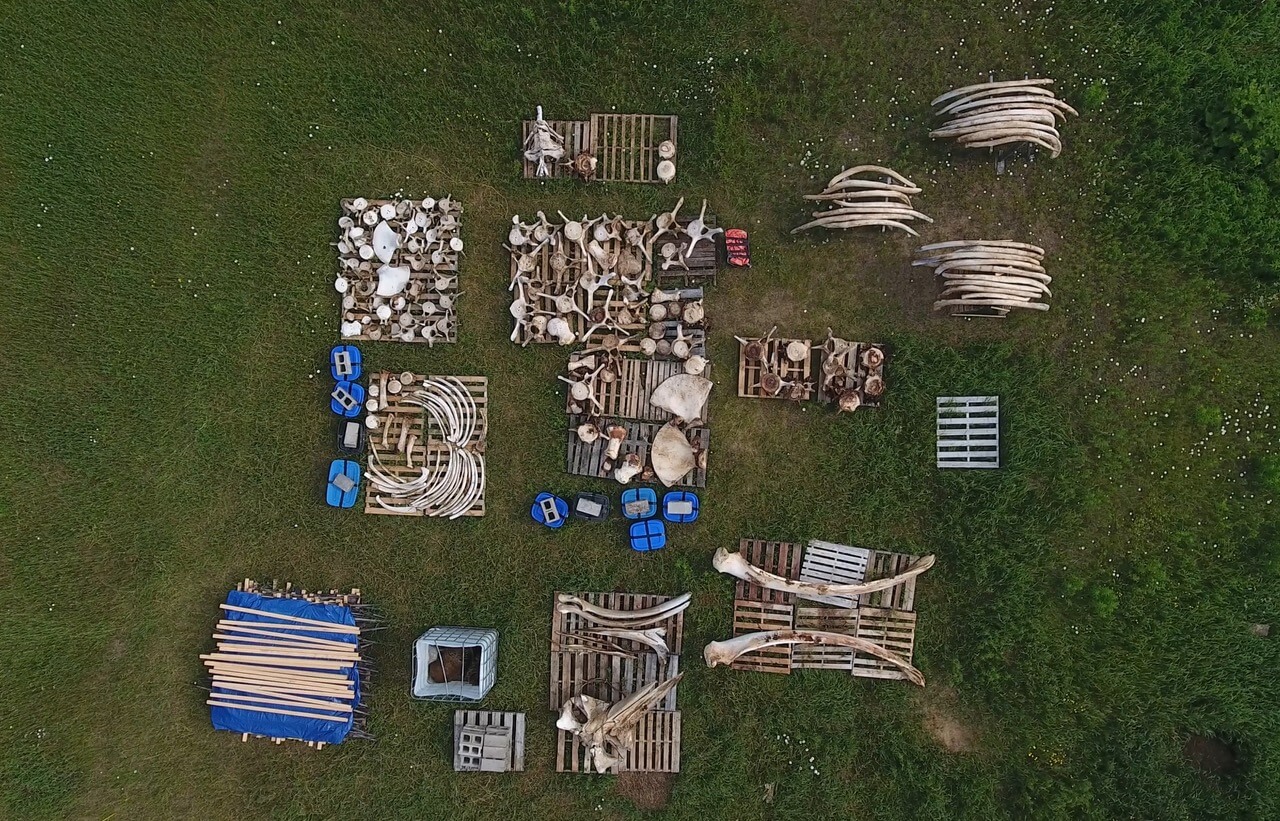
For flensing, a special team is set up, which includes a large number of volunteers. Generally, most of the animal is removed on site to avoid having to transport the entire carcass. The bones are then taken to the “Cinq Étoiles” farm.
2. Cleaning and drying
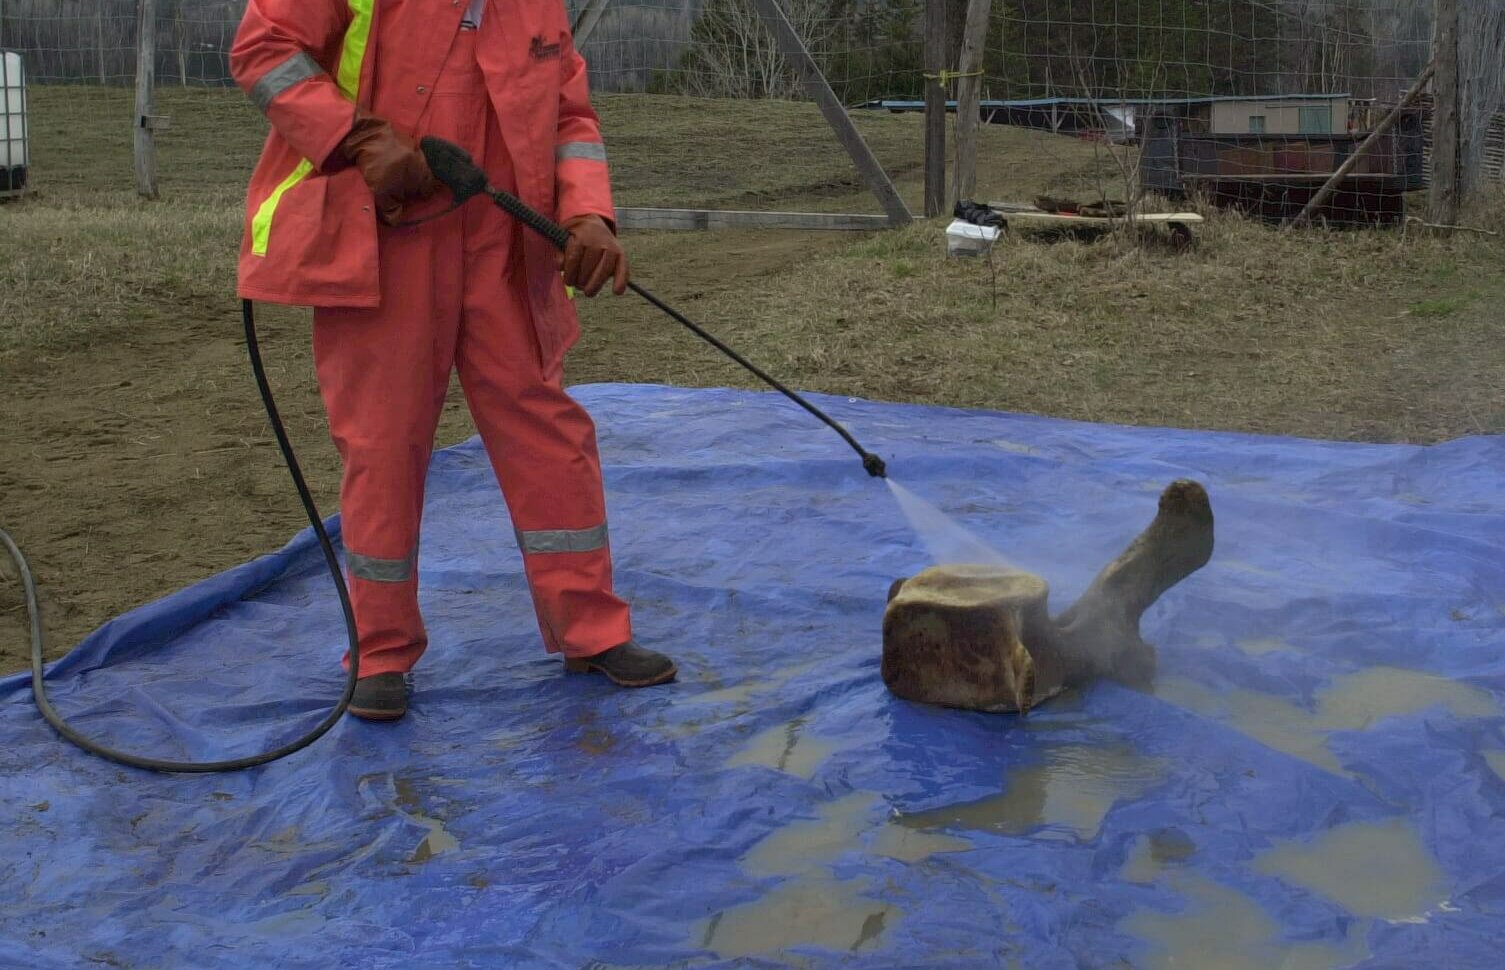
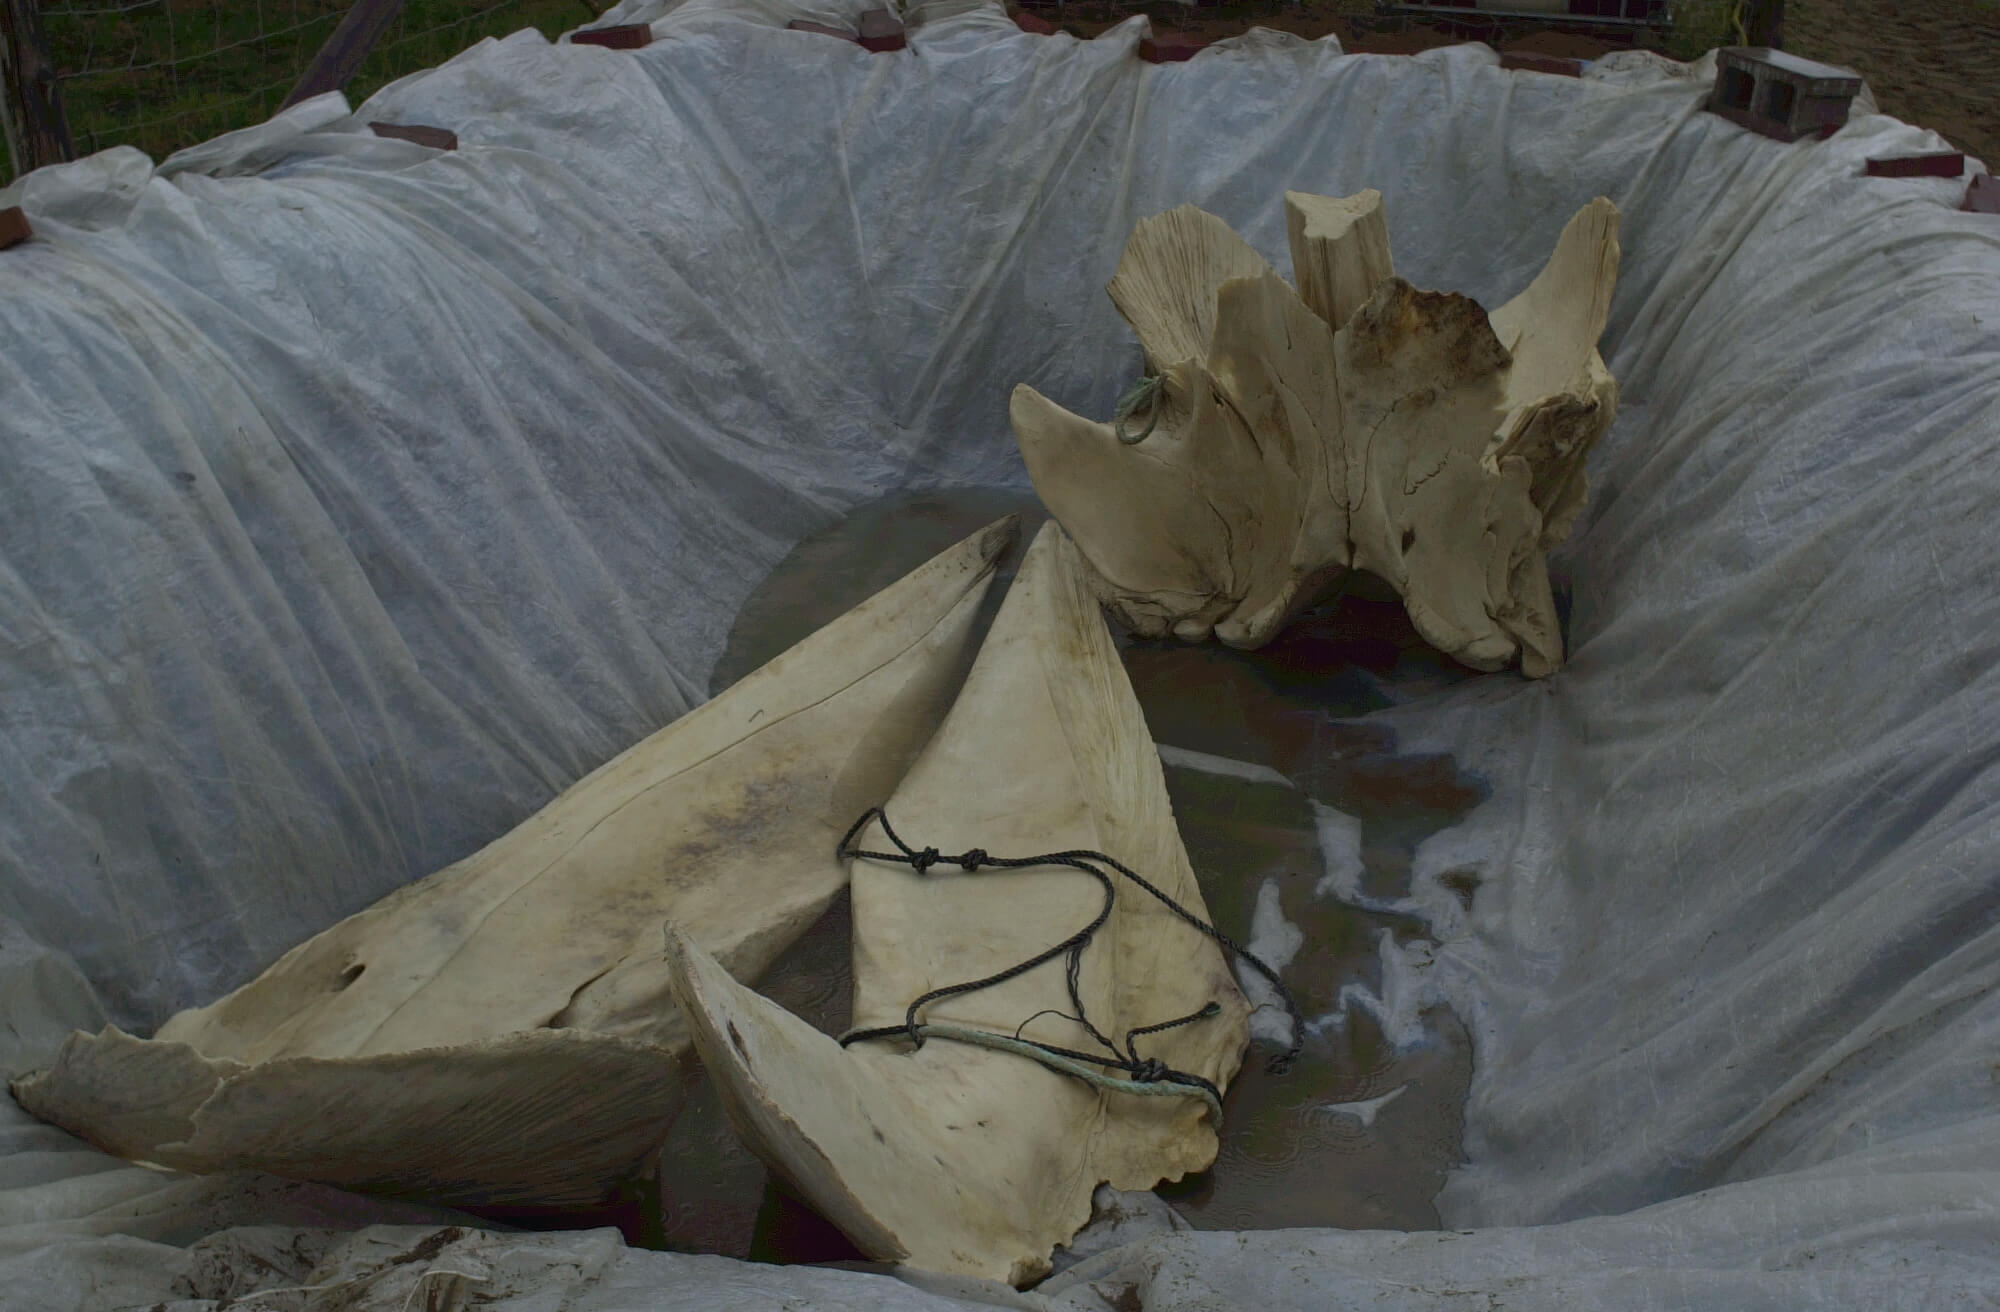
This is painstaking work. For the bones, you have to scrape, remove any organic material (flesh, tendons, cartilage) and clean with a pressure washer. Then, the bones are soaked in hot water, sometimes with a degreasing agent, or they are left to the elements before being left to dry. It may be necessary to repeat these steps several times depending on the result, the budget and the team at one’s disposal.
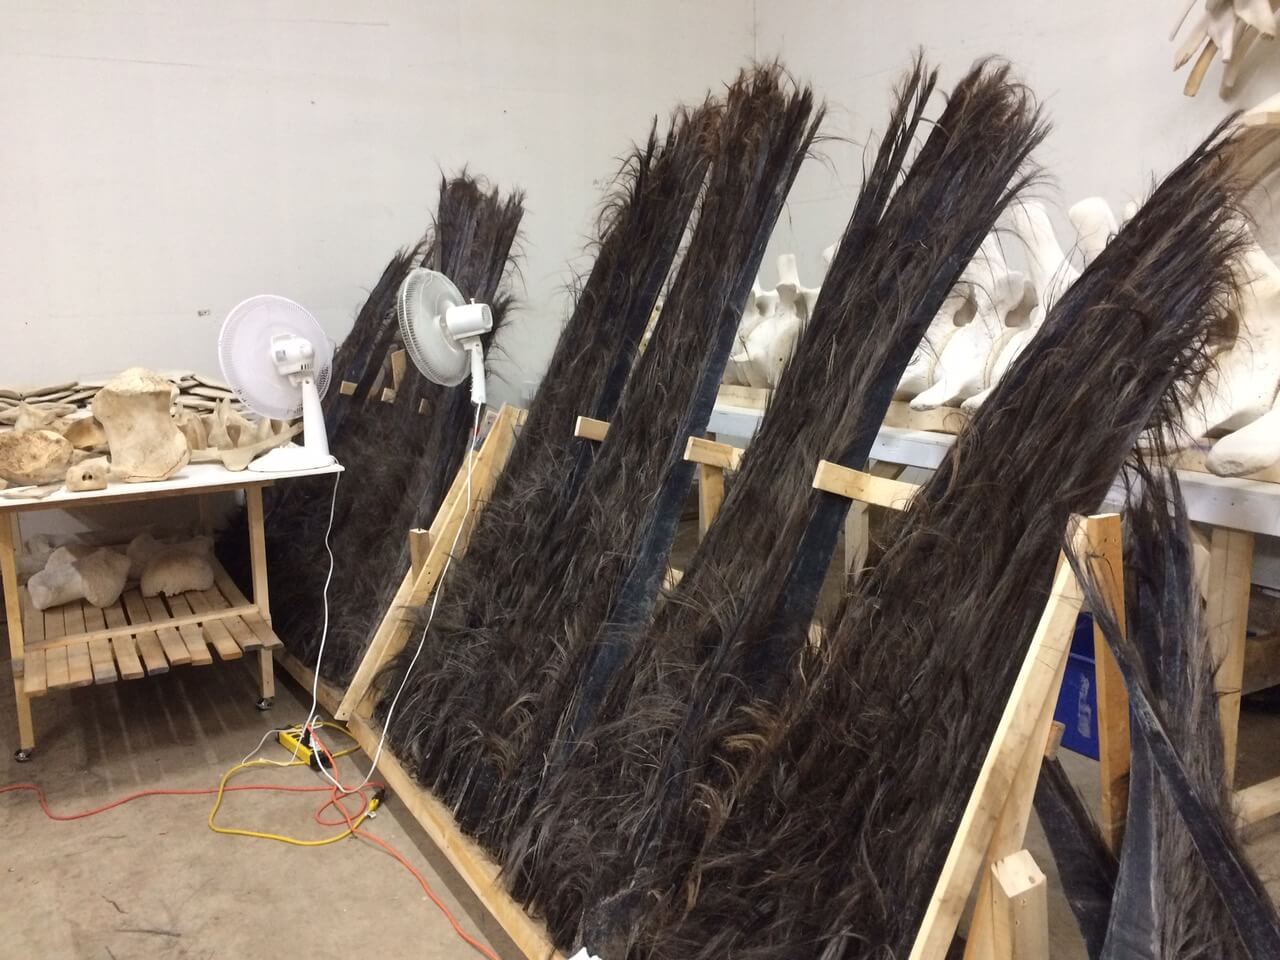
As for the baleen, they are mostly detached and cleaned with a pressure washer as well as a brush and soap. We remove all the flesh and keep only the keratin, which is what our fingernails are made of.
3.Repair and assembly
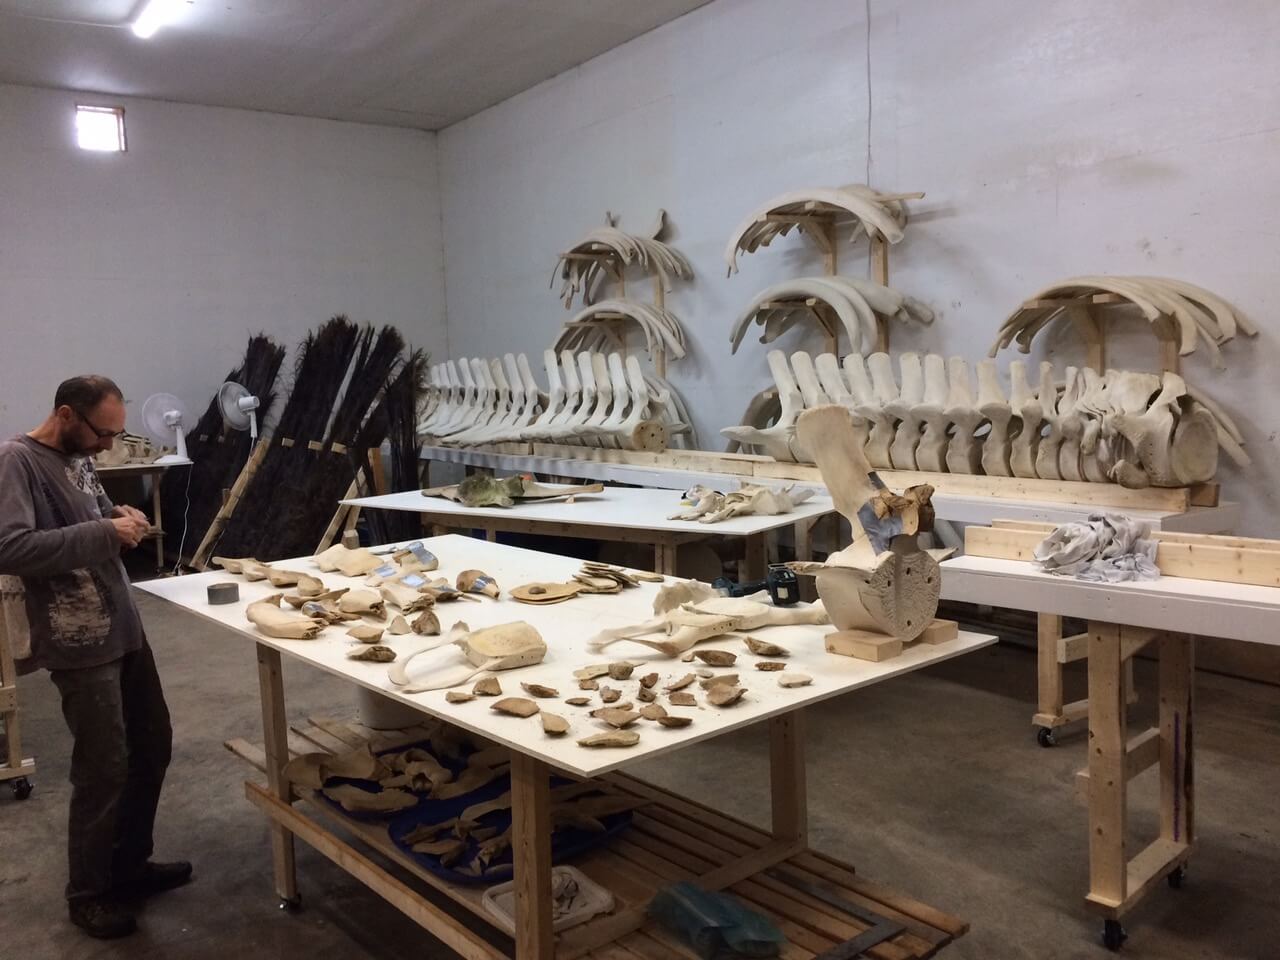
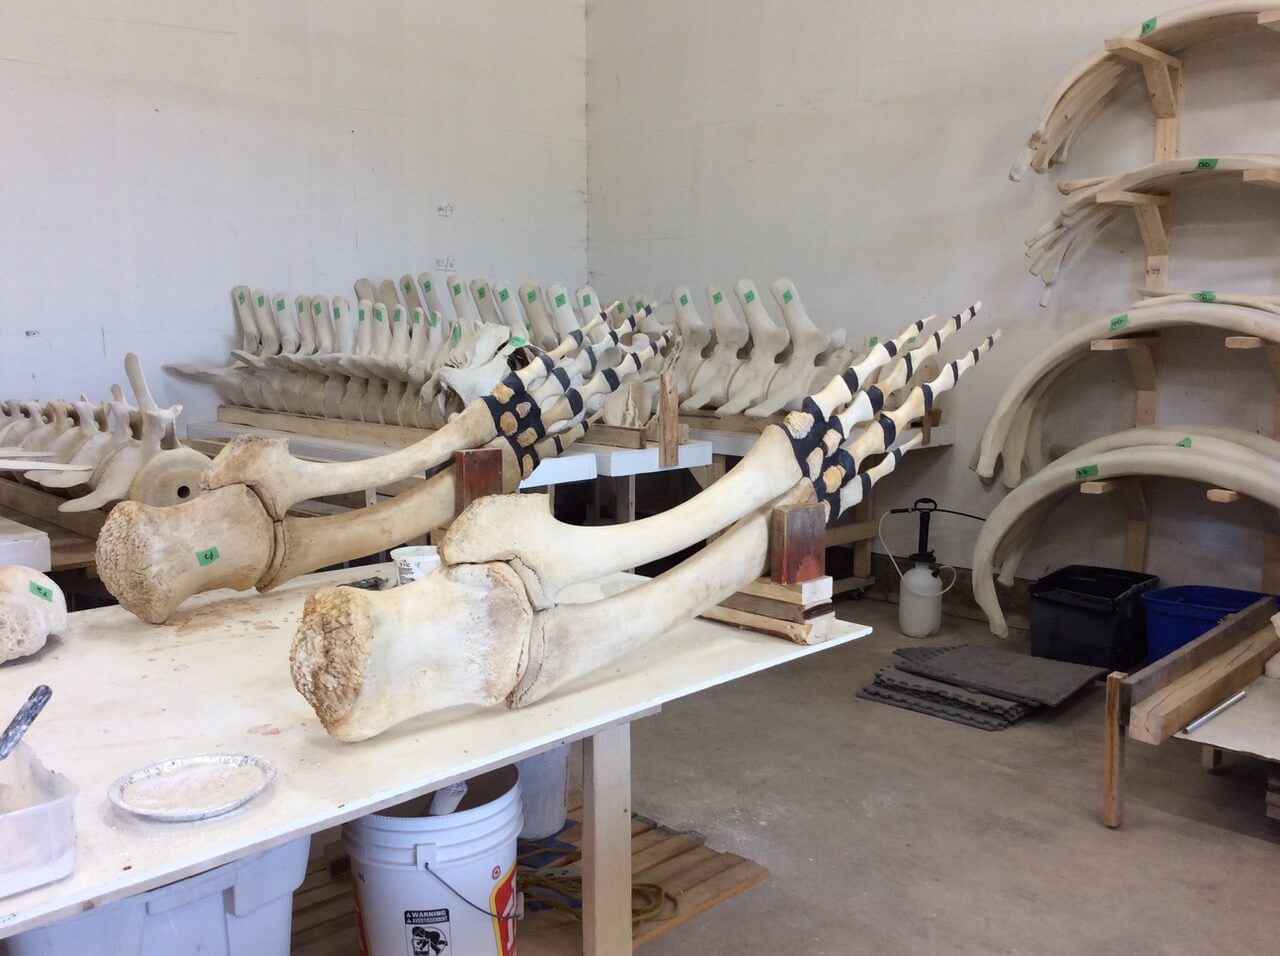
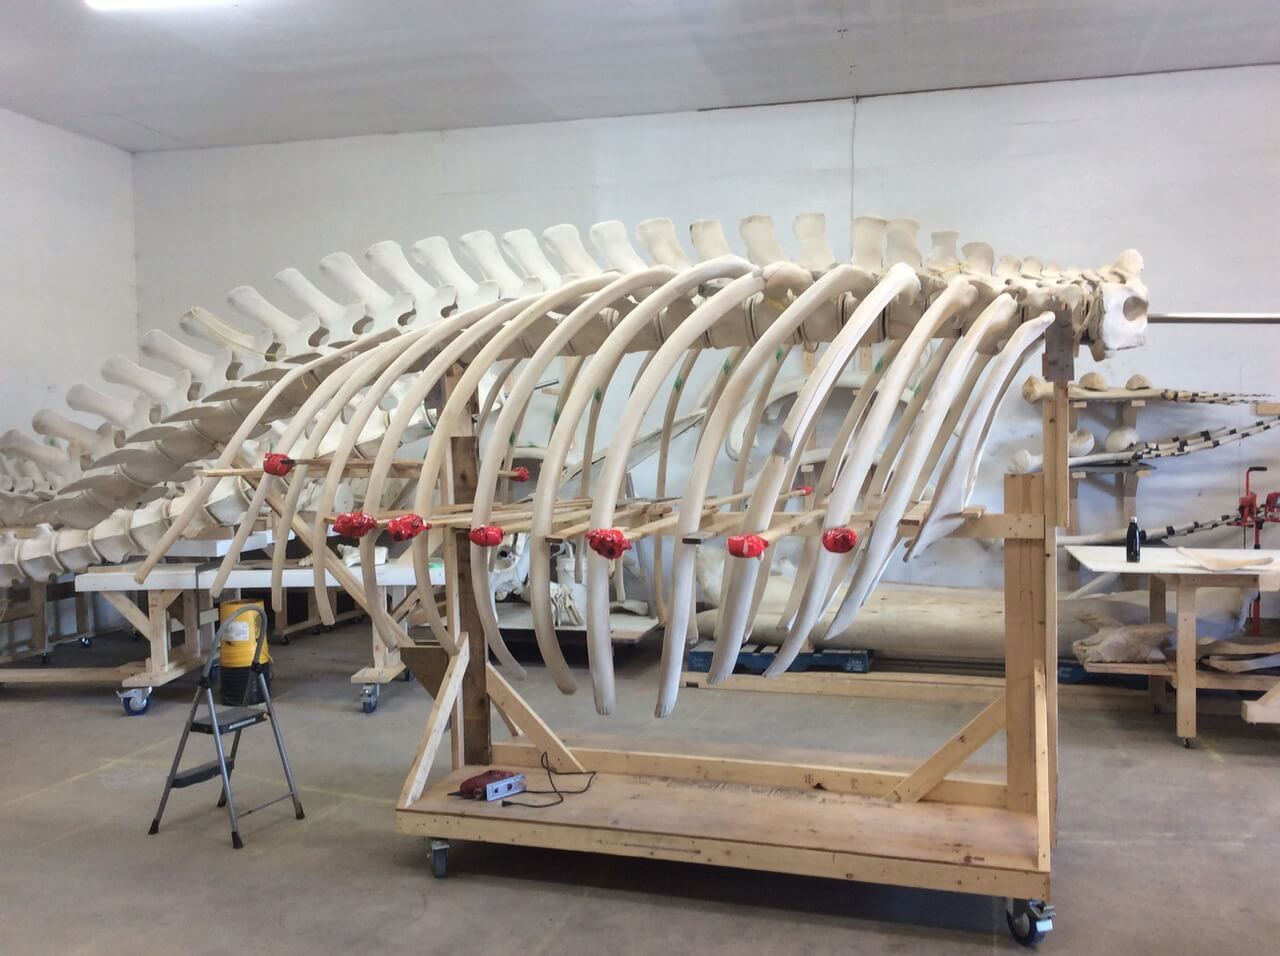
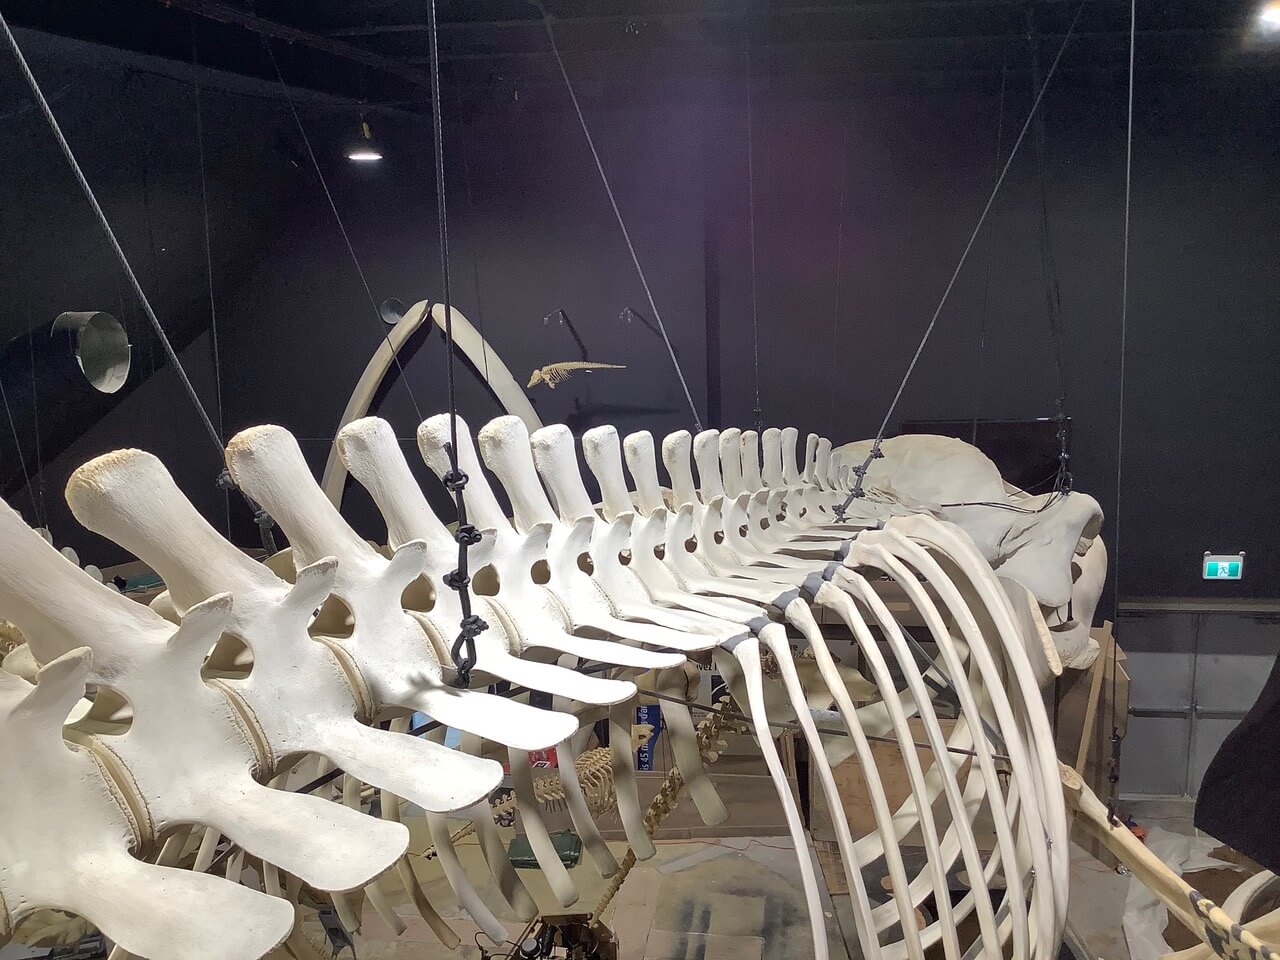
This is usually the longest step! Some elements might break in the recovery phase, when cutting the bones or during transport, so they must be repaired. Then you have to work on assembling the skeleton and that… well that can be a real headache! This phase is carried out in a hangar rented out specifically for this purpose.
4. Installation
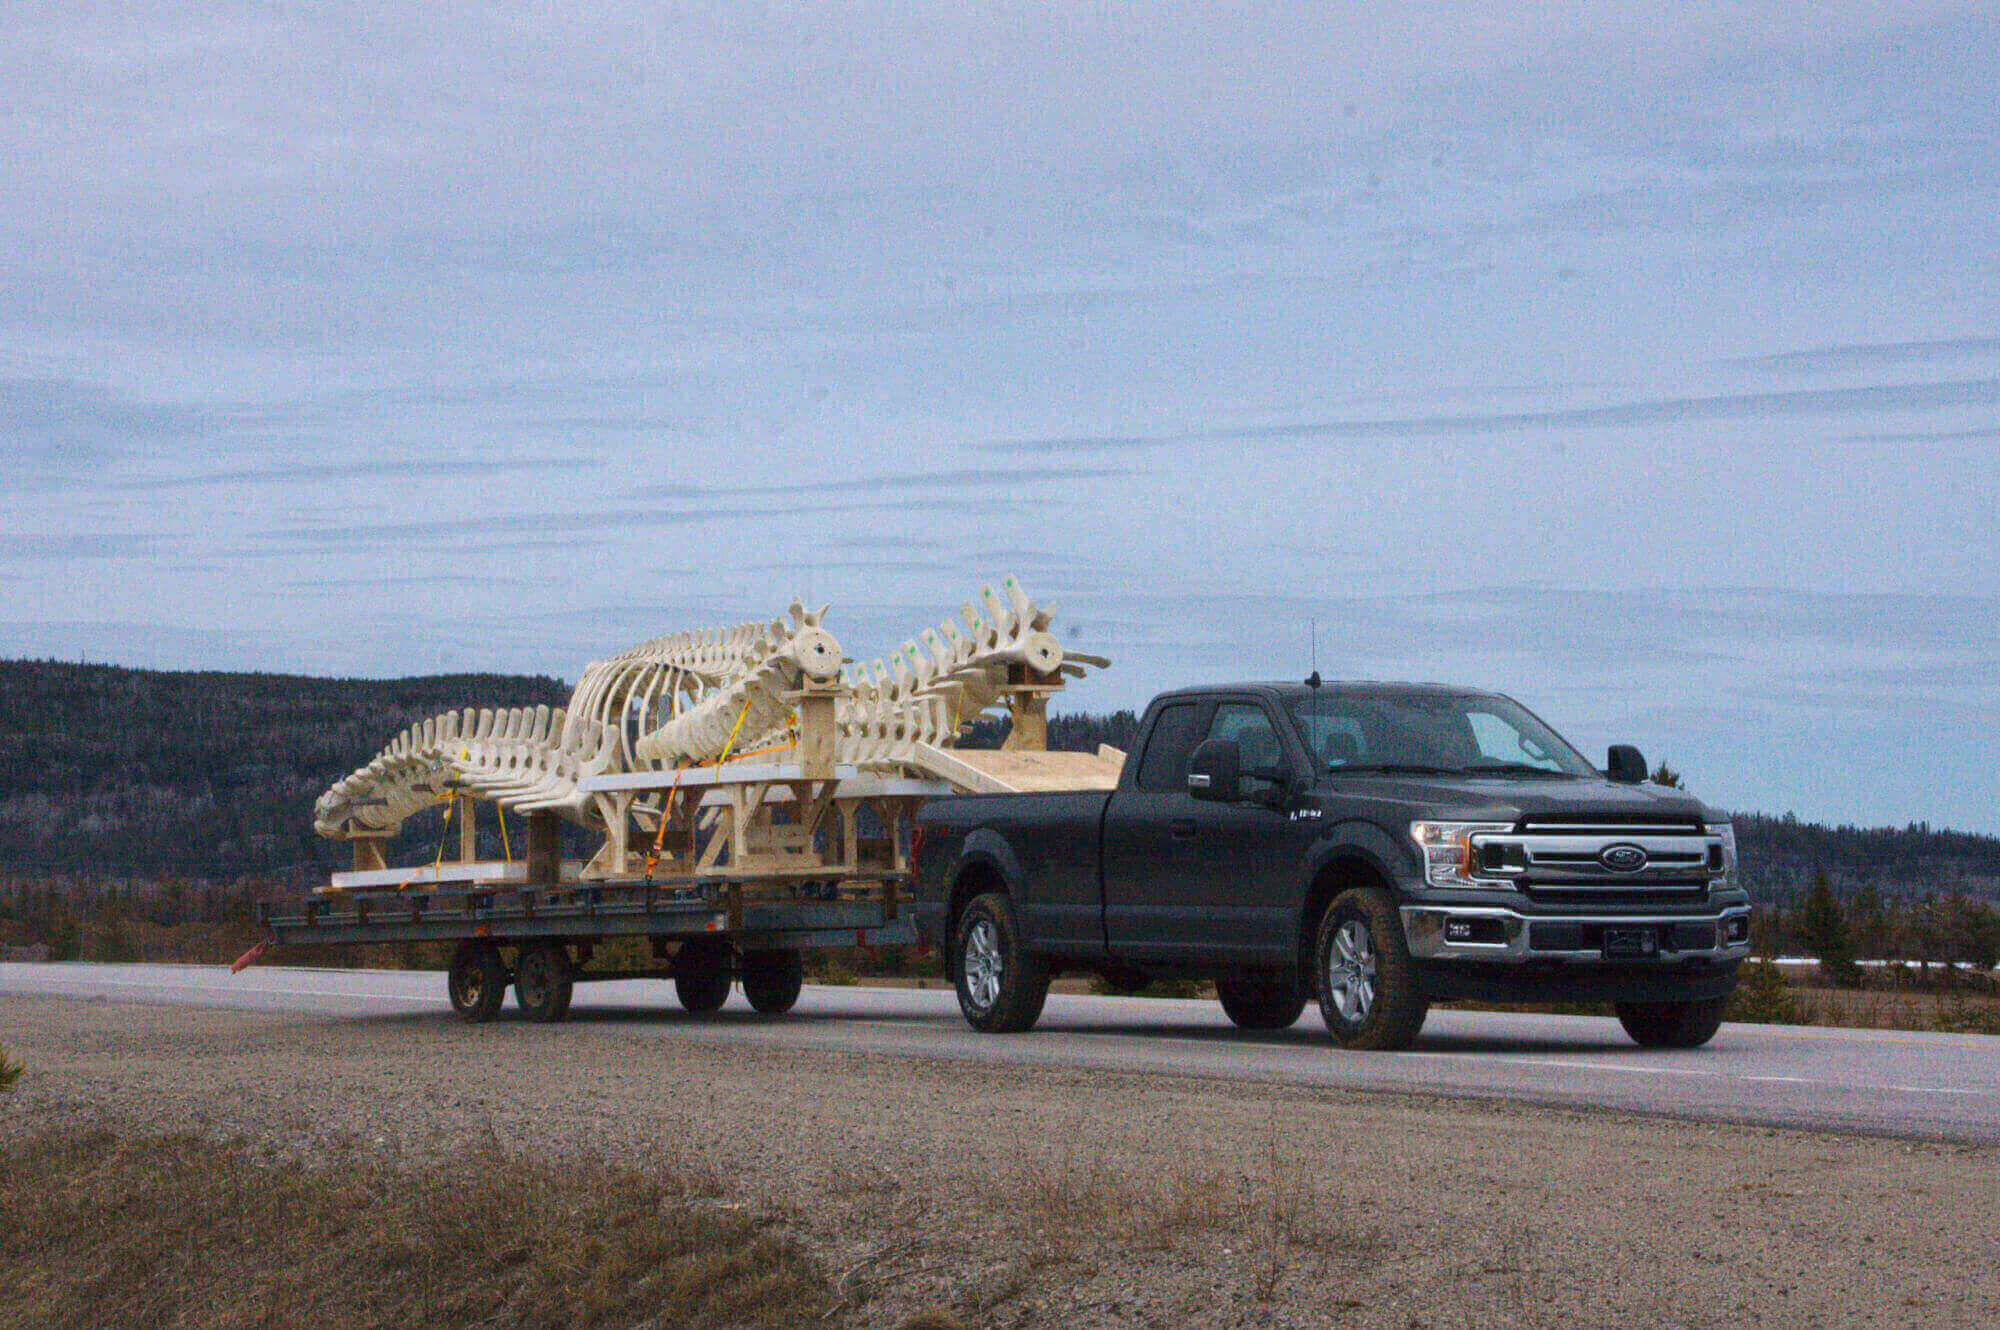
In 2020, the CIMM was expanded. A hole was left in the wall by the emergency exit door to allow skeletons to pass through. They were lifted using chain blocks hanging from the ceiling and the bones were held by cables. The last three skeletons – those of a fin whale, a humpback and a North Atlantic right whale – were installed in 3 months.
When the skeletons are cleaned properly, they keep well. Those on display at the CIMM have no varnish, acrylic or oil. We let them “breathe” and there may be a little oozing over time. On the other hand, if you look at the skull of the sperm whale skeleton, it was not soaked long enough, and there are traces of oil. You have to take your time until the oil seeps out of the bones.
What kind of materials are needed for this exercise?
It always depends on the skeleton you have to work with. The steps and equipment vary depending on the size of the animal and bone density. There are work-arounds, but there’s always a minimum of equipment that we need: tubs for soaking, steel rods for assembly, etc.
To hide the steel rods use to replace ligaments, for example, silicone can be used. It serves its purpose, but it’s sticky and not easy to work with. For Piper and the new skeletons, we were inspired by an artist who had worked on a blue whale skeleton in Vancouver. We used an epoxy paste that gives us time to sculpt before everything dries and hardens. This is a binding agent that gives structure, is adhesive and at the same time is attractive and easier to maintain. Pierre-Henry Fontaine, who’s a retired biologist and expert in whale anatomy, not to mention a friend of GREMM, helped us with several skeletons, from flensing to assembly. Sometimes we had anatomical issues. Pierre-Henry gave us a lot of tips on how to go about our work correctly. He was a good mentor.
How long does it usually take?
For the three big skeletons, it took almost two years of full-time work, mostly with two sets of hands, and sometimes more. During the last few weeks of the project, practically the entire team worked on the assembly. Throughout the process, we have to work with welding workshops who also have their own schedules, as well as with engineers who help us with different kinds of cables and fasteners. There are lots of time constraints to manage.
How did you manage to mount the skeletons in the showroom?
We didn’t have access to the showroom because it was under construction, so we could not assemble them on site the way we had previously done for the sperm whale. In the meantime we rented a hangar where we pre-assembled the larger sections: rib cages, skulls, anchors, etc. We had to think carefully about our techniques and positioning beforehand. At the end of the process, all that was left to do was bring back the sections and complete the assembly. Much of the work was already finished.
Should any kinds of products be applied to the bones to preserve them? Is this their original colour?
The most recent skeletons in the collection were bleached with hydrogen peroxide, while others were just cleaned without attempting to make the colour uniform. Peroxide is a disinfecting agent, but above all it makes it possible to smooth out the colours of the bone. For a relatively new skeleton, which hasn’t lived through the seasons, it’s probably going to be a bit variegated. For a skeleton like the fin whale that has been lying around for years and not cleaned very well initially, you can have up to 12 different shades on a single scapula. These tones range from dark brown to pale brown to grass green, not to mention species of mould that can be purplish or pinkish in colour. In this case, hydrogen peroxide was the only solution.
A little story to share?
The flensing stage is always impressive, as we’re dealing with a dead animal that is sometimes very large. All we want is to recover the bones and that this step can be completed in less than three days, ideally. It’s a rather unique experience!
A rather funny anecdote is that there are lots of holes and gaps in the bones, especially for large animals like whales. When we finally brought the fin whale back to the CIMM, the bones had been lying on the ground outside for over two years. There were snakes everywhere and mice scurrying out of the holes. It was funny, but also a bit disgusting. Once, we dug a few holes and laid down tarps to make a basin, where we then placed the fin whale’s jaws and skull. When we started to fill the basin with water, at one point about ten mice started to swim across the water in a panic, ran out and sought refuge on dry land… like rats fleeing a sinking ship, as the saying goes.
A sensory experience in many respects, skeleton preservation remains unforgettable for all those involved. Michel will be at the CIMM next summer. Come meet him and listen to his stories about whale skeletons, as he has lots more to tell!


